wulu90.github.io
osg 3.4.1 编译
下载
-
osg源代码下载,osg网站位置http://www.openscenegraph.org/index.php/download-section/stable-releases,本文中下载的是稳定版3.4.1,由于osg代码托管在GitHub上,具体地址为https://github.com/openscenegraph/OpenSceneGraph/tree/OpenSceneGraph-3.4.1
-
osg第三方依赖库下载,第三方依赖库在osg网站上的位置http://www.openscenegraph.org/index.php/download-section/dependencies,选择针对Visual Studio 2017的64位full package,具体地址为https://download.osgvisual.org/3rdParty_VS2017_v141_x64_V11_full.7z
-
数据包下载,osg网站地址http://www.openscenegraph.org/index.php/download-section/data,选择其中的OpenSceneGraph-3.4 standard dataset,下载地址为http://www.openscenegraph.org/downloads/stable_releases/OpenSceneGraph-3.4.0/data/OpenSceneGraph-Data-3.4.0.zip
-
编译工具CMake下载,官方网站https://cmake.org/,进入下载页面https://cmake.org/download/后选择Latest Release 3.9.6,windows 64位,installer安装版或zip绿色版均可,本文中下载的是zip绿色安装版,地址为https://cmake.org/files/v3.9/cmake-3.9.6-win64-x64.zip
准备
建立osg文件夹,然后下载后的文件解压并组织文件夹如下:
D:\code\osg\3rdParty_x64,存放第三方依赖库,由于直接解压3rdParty_VS2017_v141_x64_V11_full.7z文件得到的3rdParty_x64文件夹中还有一个x64文件夹,所以第三方库的实际地址为D:\code\osg\3rdParty_x64\x64,在配置Cmake会用到
D:\code\osg\OpenSceneGraph 存放源代码
D:\code\osg\osgBuild 存放vs工程文件
Cmake配置
打开cmake-gui.exe文件,where is the source code浏览到D:\code\osg\OpenSceneGraph,where to build the binaries浏览到D:\code\osg\osgBuild,点击Configure按钮,开始配置。
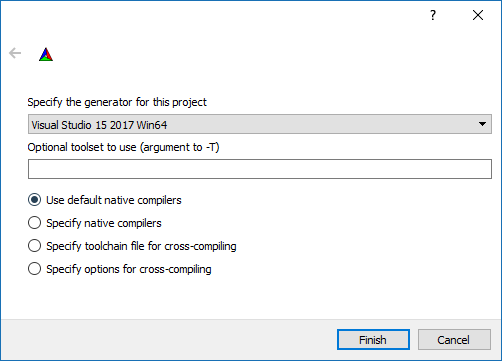
选择Visual Studio 15 2017 Win64,点击Finish按钮,完成此项配置。
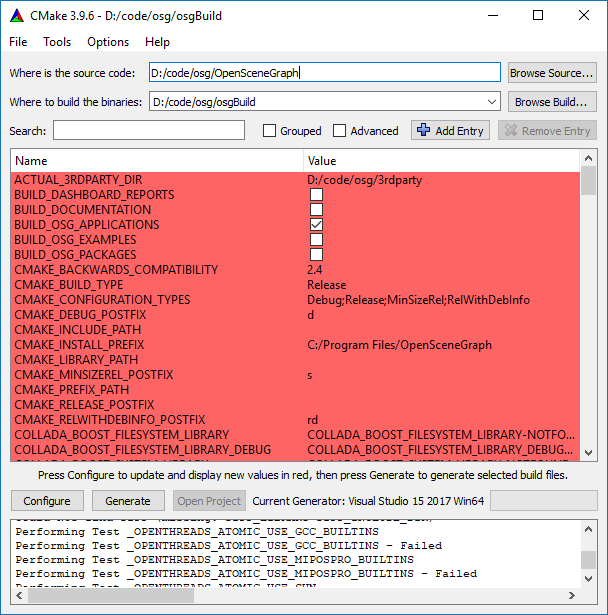
修改ACTUAL_3RDPARTY_DIR为D:/code/osg/3rdParty_x64/x64,CMAKE_INSTALL_PREFIX为D:\code\osg\osgResult,BUILD_OSG_EXAMPLES修改为勾选,再次点击Configure按钮,进行配置,
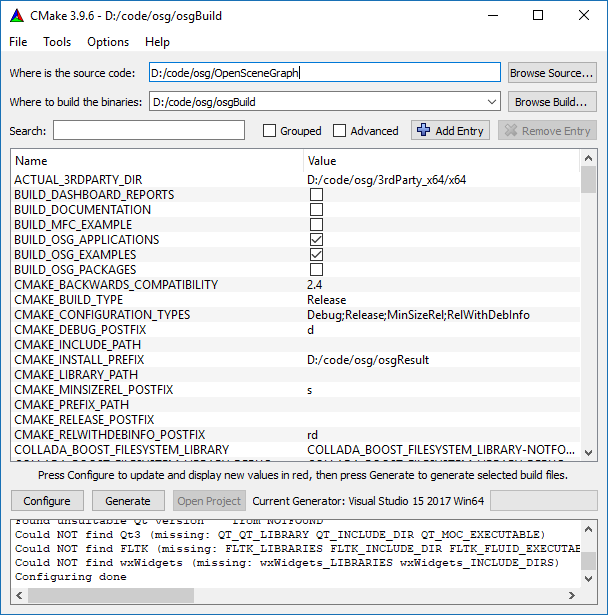
点击Generate按钮,生成vs项目,生成完成之后,消息会弹出Generating done

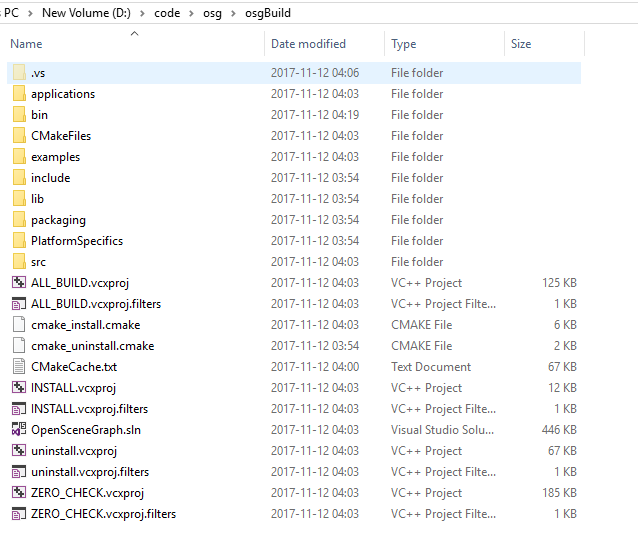
点击Open Project直接打开Visual Studio 2017,文件夹如图
编译
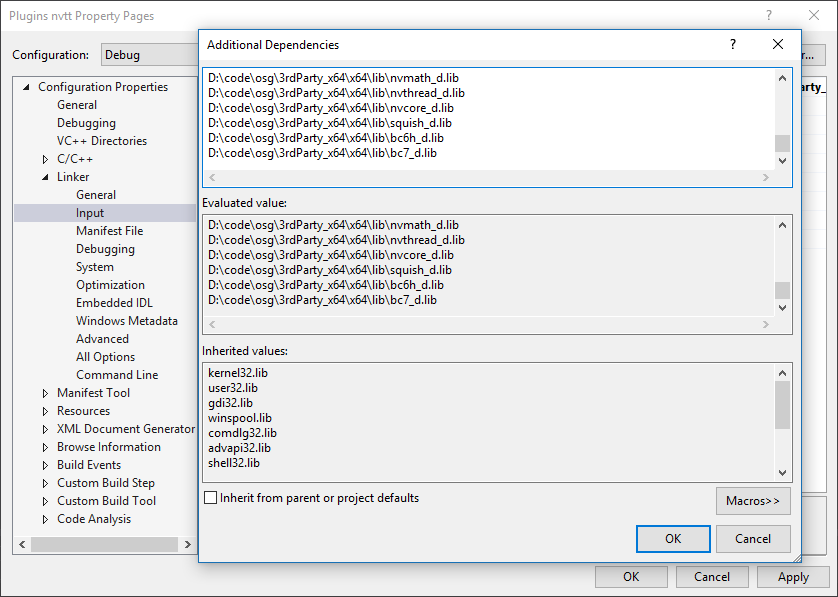
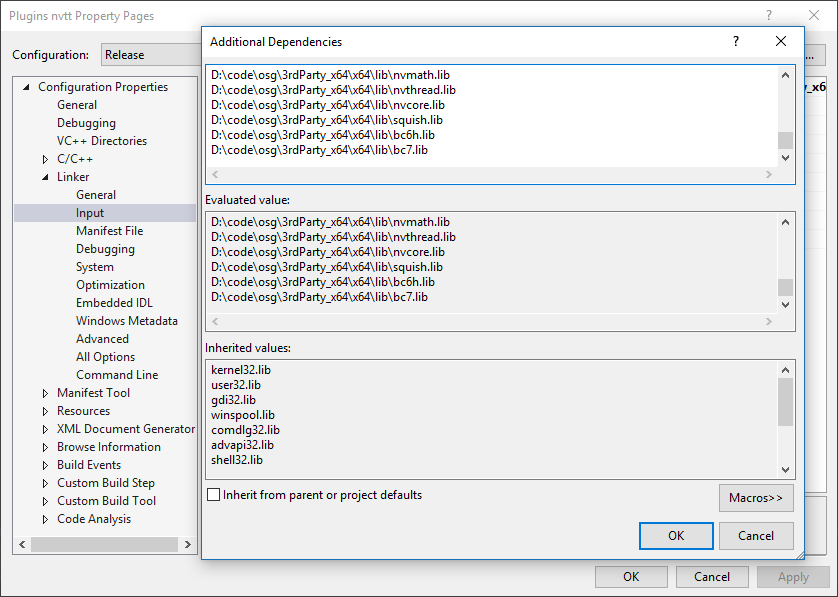
重点:这个版本中的Plugins nvtt项目中的依赖项不全,直接编译会报错,需在项目的属性中修改,Property->Linker->Input,添加对nvtt.lib、nvimage.lib、nvmath.lib、nvthread.lib、nvcore.lib、squish.lib、bc6h.lib、bc7.lib,对于Release,Debug版本都需修改,在上述依赖项名称后添加“_d”即为Debug版本文件名称。
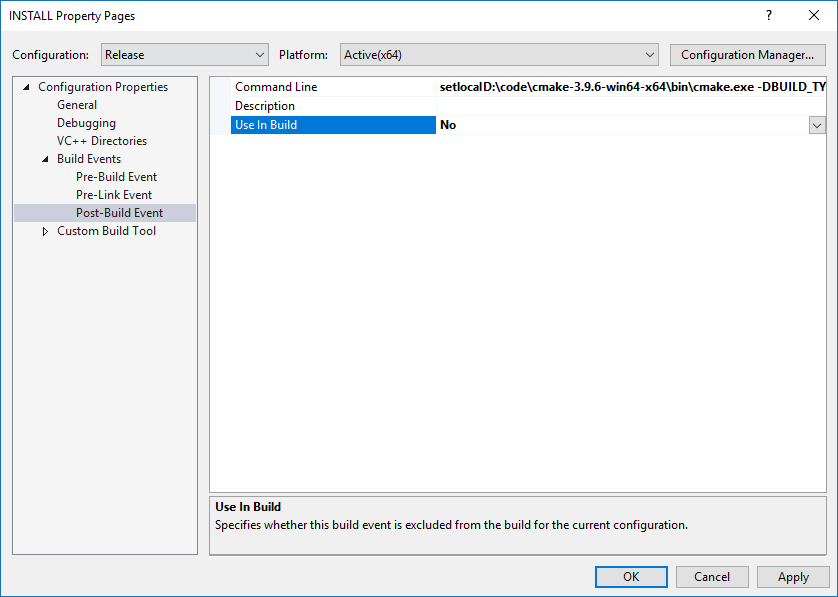
修改INSTALL项目属性,Property->Build Events->Post-Build Event,将Use In Build项修改为No,Release、Debug都需修改

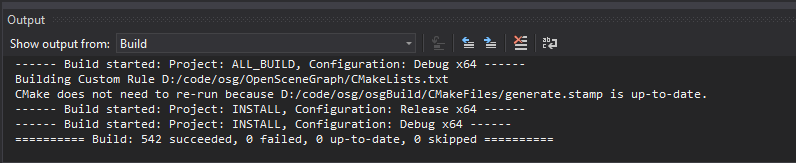
vs菜单打开Build->Batch Build,生成All_Build,INSTALL的Debug,Release四个项目,
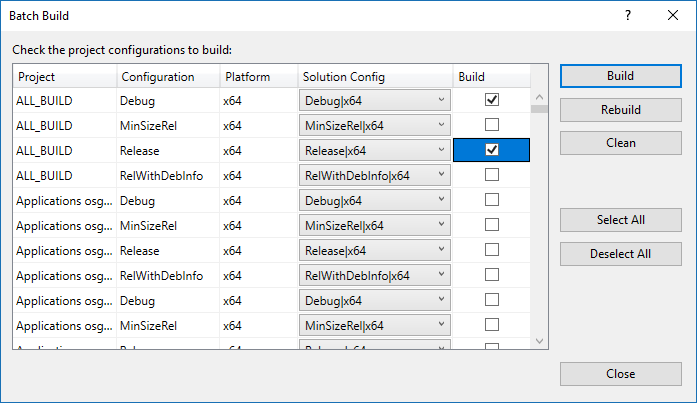
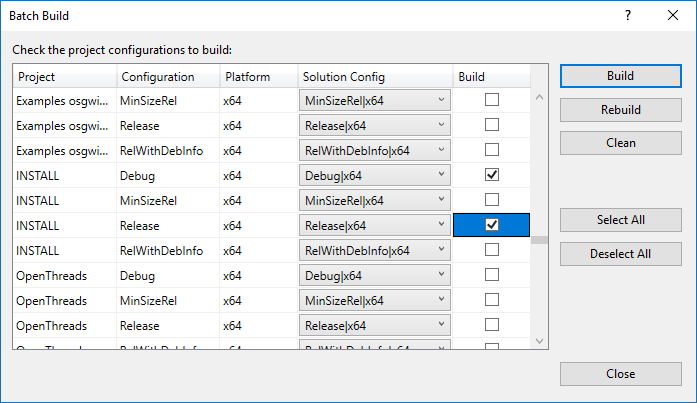
点击Build按钮,开始生成,第一次生成比较耗时,需要二至三个小时。